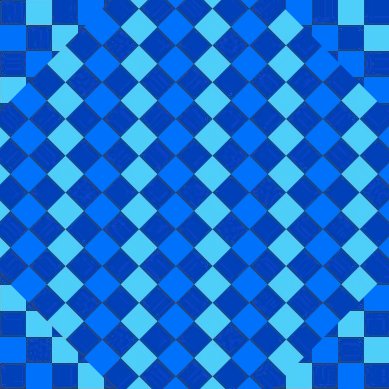
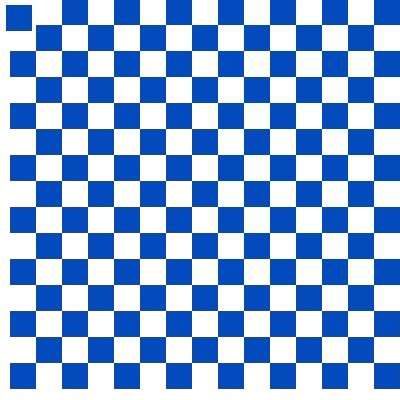
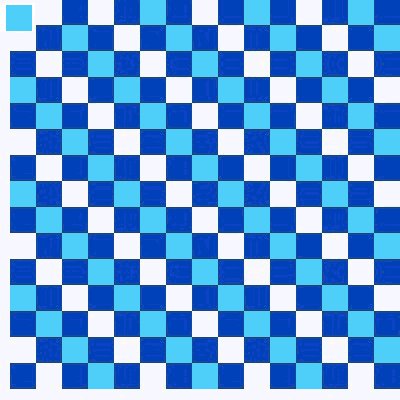
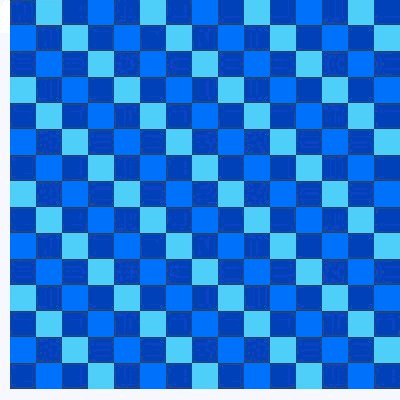
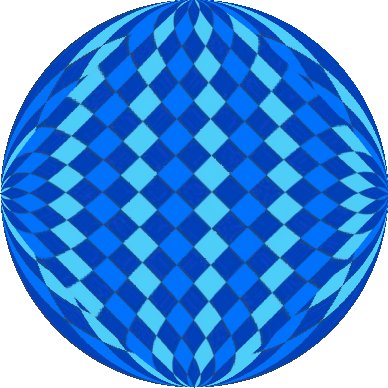
Working with one square and filling it with 3 different colors I produced this design. Paint
Shop Pro is really limited here. The first thing I discovered was you cannot work successfully with shapes
that have diagonal lines. They produce aliased (jagged) edges that contain forground and back ground colors.
Attempts to paste images together like the center pattern produced unacceptable results because of the multicolored
jagged edges.
First I created a square and used it build this pattern. At some point I changed to 16 million
colors. This actually created more than one color of blue in the original squares. I was pasting using
CTR/SHIFT/E so that any background I picked up would not show. Later I magnified the image to 6x so I could pick up
the square with no backgound. It pasted better that way.
Next I tried to fill the original square with a new color. I had to do quite a bit of touchup since
the original square was not actually all one color. Then I filled in the new pattern.
I thought filling the new color would be simple since this square was all one color. It still took some
pixel touch up using the one pixel square brush. That done I filled in all the white squares with the new blue.
For the final design I again enlarged the image to 6x. I used the rectangle shape selection tool to grab the
whole image and copied it. I then rotated it 45 degrees. Then I went back to the original size. I did the
CTRL/E thing to paste it and tried to eyeball with the help of the numbers in the corner where to set the rotated
image down. Right click and there it is. Oh, SAVE often. I had two system crashes related to what I think is a
bug I found when doing multiple pastes on the bottom two rows. (screen magnified 3x and scrolled to bottom of
image in 640x480).
And now for the quick and easy part. Chose Image|Deformations|Circle and poof the squares ain't square no more.
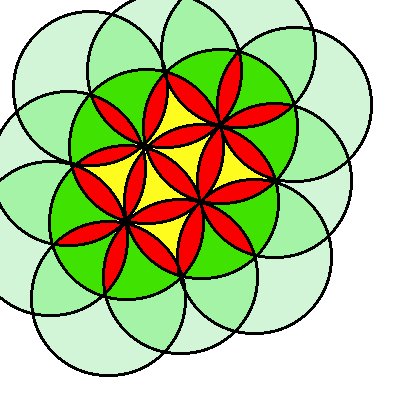
Circles, circles, circles. Unless I missed something drawing a circle where you want it ain't easy. I wanted to
draw one in the exact middle of the 400x400 image work area. Well, finally got it there abouts. I drew one unfilled
3 pixel wide line circle. I copied it. I placed 6 circles around the original circle so that there circumferences
passed through the center of the original circle. Then I repeated this around those circles. It was easy then to
dump the colors into the patterns produced by the intersecting lines. Kind of like a spiral graph with fill.
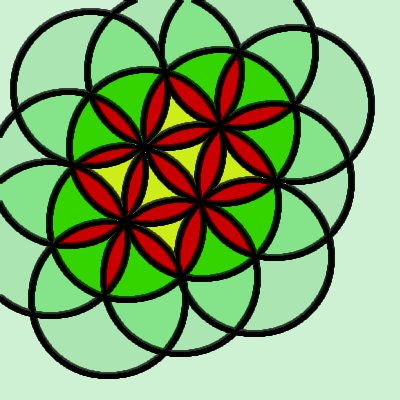
And now for the quick and easy part again. Choose Image|Special Effects|Hot Wax and there it is.